Planning a webinar? Got the topic and speaker already figured out?
Great!
Now what?
The prep work you do now will determine how successful your webinar actually is. And you have to start early. Check out this superhero-approved 7-week prep plan:
-
Organization
(7 weeks before your webinar)
This involves making sure that the date and time align with the speaker and that everyone on your team is on board.
Tip: When you first set up the date and the time of the webinar, we recommend to schedule it around 11 am PST/ 2 pm EST. There’s no one-size-fits-all perfect day, but Thursday is generally considered best, followed by Tuesday. Just be sure to consider your audience when selecting your specific time and date.
As a heads up, email all the people in your team that will be involved in the creation of the webinar. In the email, make sure to include your goals, landing page needs, abstract/copy links, and a link to the project timeline.
-
Copy/Design Requests
(6 weeks before your webinar)
Contact your content team for invitation, confirmation, and reminder email copy, and schedule a time for all of you to go over the theme/audience and goals of the webinar.
Contact the design team for the images that are being used on the landing page, in the emails, and on social media. Also, make sure your design team also knows what your webinar’s theme, audience, and goals are.

Check with your tech team to see if you need a new email or landing page template. It is really important that the theme of your webinar and the brand of your company are completely aligned.
-
Setting up your Webinar
(5 weeks before your webinar)
Start by building your landing page. Build your webinar registration landing page on either your webinar hosting or marketing automation platform. On the registration page, make sure to include the title, subtitle, a brief description of the webinar, the date, time, and who the speaker will be.
After you’re done, don’t forget to test your landing page and registration sign-up process. Your attendees should receive an email that contains a link to view the webinar immediately after they register.
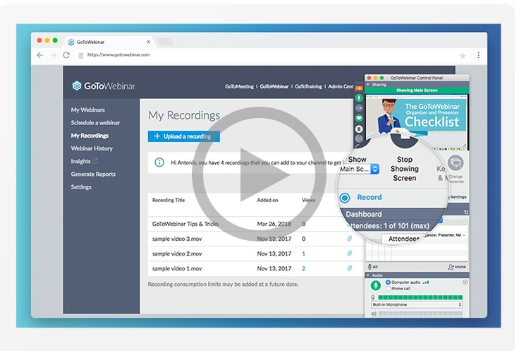
After setting up your webinar, make sure your presenters are familiar with your webinar platform. You can even run a test webinar the week before the webinar
From there, create UTM links for your campaign. Make sure to assign unique URLs for marketing tracking for each promotional item and keep track of them in your project timeline workbook.
-
Promotional Plan
(5 weeks before your Event)
While setting up your webinar, create a content marketing calendar to be able to see the organization of your scheduled emails and other promotional items. In your project timeline, make sure to include email schedules, press release launches, social posts, and blog posts.
Your plan should include when you will send email invitations, when you will post on social media, when you will blog about the event, and any other marketing tactic that you will use to promote your event.
Here is an example of a promotional plan:
-
-
- Send a save the date email (4 weeks before)
- Send invite email 1 (2 weeks before)
- Social Post 1 – LinkedIn, Facebook, Twitter (2 weeks before)
- Social Post 2 – LinkedIn, Facebook, Twitter (2 days before)
- Send Invite Email 2 (1 week before)
- Send Invite Email 3 – Last chance (24 hours before)
-
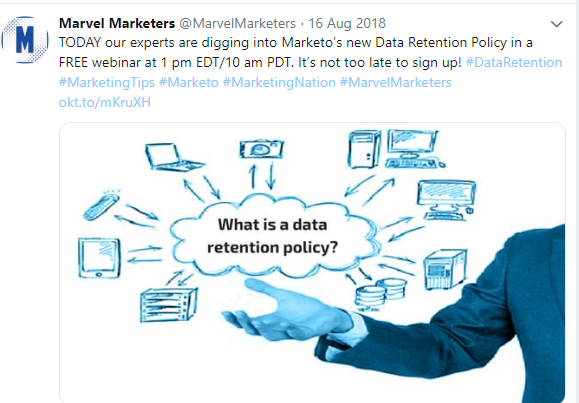
Please note that this plan depends on your organization and the audience of your webinar.
Now you can build out these emails in Marketo!
-
-
- Invite emails (3)
- Save the date email
- Confirmation email
- 24 hr reminder email
- Time to join email (15 mins prior)
- Thank you email to attendees (with a recording of the webinar)
- Follow-up email to no shows (with a recording of the webinar)
-
After creating these emails in Marketo, make sure to test both the HTML and text versions.
-
Day of the Webinar
The big day is finally here! Thirty minutes prior to the webinar, make sure you meet with the with the ensemble, including the moderator and speakers, to do a final sound check and run through last-minute instructions or any questions that may have come up.
You should prepare a Plan B in case a technical problem occurs during the live event. During the prep call, run sound and presentation with the presenter and share the Q&A doc with them. Lastly, make sure that you record the webinar for the follow-up emails and any social posts where you will be sharing the recording.
-
Post-Webinar
When your webinar is over, you need to send the follow-up emails promptly to attendees and to no shows.
Some of the analytics that are important to look at include how many registrants attended the event, what questions were asked during the Q&A, and who participated in the post-event evaluation. You can also view the engagement through the social media posts you have shared. Your click-through-rate on the invite emails will help identify how to make the registration process easier and more effective for anyone who lands on your registration page next time.
After sending a recap summary to your sales and marketing teams with the event analysis, make sure that sales reps follow up with the attendees and respond to all the unanswered questions during the webinar.
Did you enjoy this post? Leave a comment for our superheroes below.
Want to read more of our superhero-approved tips and best practices? Subscribe to our blog at the top of this page!


